
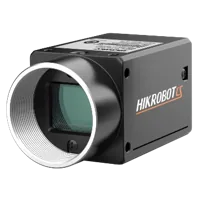
 MV-CS050-10GM(NPOE)View part & specifications →Browse camera options →
Home / Case studies / Surface marks on optical lenses
Application study · Optical component manufacturingOptical lens surfaces: compare reflected and transmitted defect contrast
Two independent source examples show marks on circular optical components: one under blue coaxial lighting and another under a blue backlight. They illustrate why the same surface-inspection requirement should be tried with more than one light path.
Choose the light path for the defect class instead of treating every visible spot alike.
- MethodBlue coaxial reflected light
- EvidenceReal application-lab capture
- SetupSource light identified; imaging kit proposed
- AcceptanceValidate on your own parts
Test stationIncluded light holdersCameraLensLightPartField of view
 Drag to rotate · scroll to zoom
Walk through this setup 5 guided stops
From component to inspection
Understand each choice.
Choose a stop to frame the part in 3D and see why it belongs in this setup. The component notes and links remain available if 3D cannot load.
Proposed component
MV-CS050-10GM(NPOE)
5 MP monochrome global-shutter camera for a bench contrast trial; confirm sampling, sensitivity and exposure on the actual part.
Proposed component
LS-KF3528M-ML
Proposed 35 mm C-mount macro lens. The illustration uses its printed 0.25x magnification at 150 mm working distance. The proposed camera sensor gives a derived 33.7824 × 28.2624 mm field. Confirm field, focus and residual distortion on the actual sample; this is not calibrated measurement accuracy.
Tested component
LS-COPS40
Blue LS-COPS40 is the exact light named in the reflected-lens example. A separate blue LS-2FS100100 backlight trial is recorded as an alternative, not added to this proposed kit.
Proposed component
LS-BT-XZ-G-6-6045
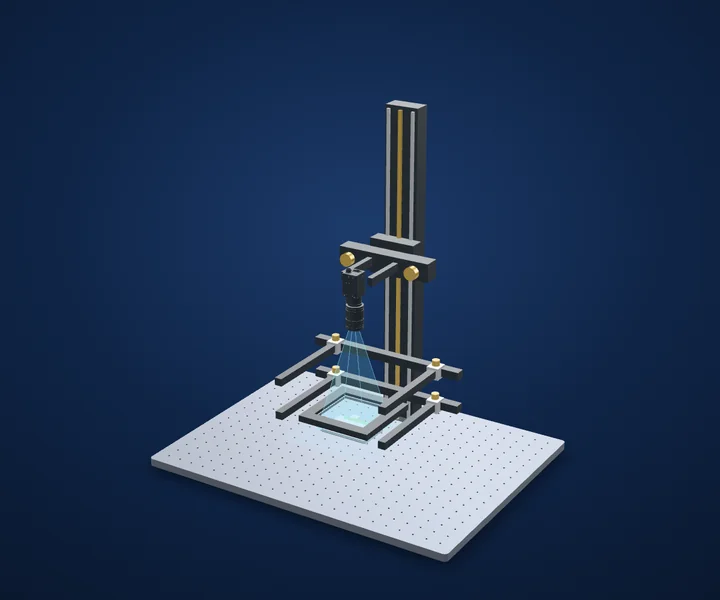
600 mm column, 600 × 450 mm breadboard, XZ adjustment, glass tray and two lighting holders as listed. Proposed bench fixture; confirm loads, travel and camera/lens clamps.
Inspect the real capture
Follow the contrast to the part.
Choose the light path for the defect class instead of treating every visible spot alike.
Camera and available lens CAD are published models. Lens and light envelopes use printed dimensions. The linked station uses its published base size and column height; carriage, brackets, fittings, parts and spacing are illustrative. Confirm load, travel, fasteners and clearances before ordering. Light paths explain the arrangement and do not simulate optical performance. Representative part geometry is illustrative, not reconstructed inspection evidence.
From the demo to your test benchCameraMV-CS050-10GM(NPOE)View part & specifications →Browse camera options → Imaging lens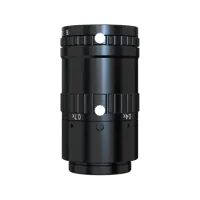 LS-KF3528M-MLView part & specifications →Browse imaging lens options →
Inspection light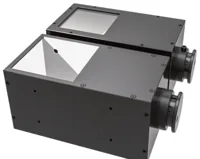 LS-COPS40View part & specifications →Browse inspection light options →
Test station & mounts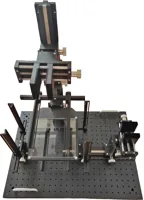 LS-BT-XZ-G-6-6045View part & specifications →Browse test station & mounts options →
Build around the parts you can buy.
Explore each component, check its specifications and compare alternatives. The proposed quote includes the linked test station; its catalog listing includes two lighting holders.
MV-CS050-10GM(NPOE)View part & specifications →Browse camera options →LS-KF3528M-MLView part & specifications →Browse imaging lens options →LS-COPS40View part & specifications →Browse inspection light options →LS-BT-XZ-G-6-6045View part & specifications →Browse test station & mounts options →Mount the optics with intent
The station is an optical test bench, with its two lighting holders included in the catalog listing. The 3D column and base follow the published height and footprint. Carriages, clamps and part supports are schematic: confirm camera screw pattern, lens support, light fasteners, permissible load and actual travel before ordering.
Configure the mounting station →Complete the electrical system
Select a controller against the exact light voltage, drive mode and power, then confirm camera data/power/I/O cables and a suitable PC. These are not silently added to the proposed optical kit.
Lighting application-lab catalog capture
Evidence you can inspect
Visible in the images
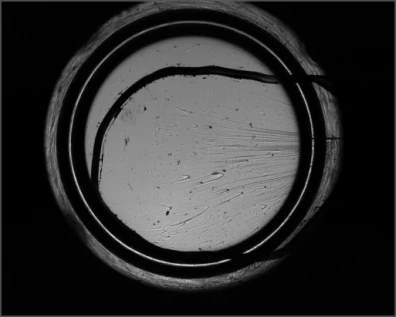
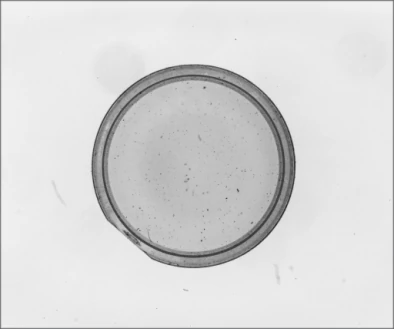
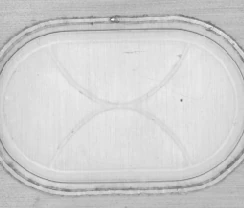
The reflected example shows fine marks; the separate transmitted example shows spots inside a circular boundary.
What the source reports
The source labels both examples lens-defect inspection and identifies the blue coaxial and blue backlight models.
How to use this evidence
Different source samples and lighting trials. No controlled comparison, scratch width, contamination size or coating acceptance limit is reported.
What the camera saw
Cropped from the source test sheet; original test annotations are retained. Captures are not generated or enhanced. Drag the comparison slider or use the image buttons.
The challenge
A transparent optical part can combine surface marks, internal material and multiple reflections in one view.
One lighting recipe may reveal scratches while exaggerating acceptable edge reflections or dust.
How it was solved
The first source example names the blue LS-COPS40 coaxial light. The second names the blue LS-2FS100100 backlight on another optical-component example.
These are separate source images, not before-and-after views of the same sample. Choose a trial path based on your actual rejectable marks and component coating.
Why it works
- 1
Coaxial reflected light and transmission weight surface reflection and obstruction differently.
- 2
A visible spot does not identify its depth, cause or severity; sample labels and focus tests remain necessary.
From image contrast to a production decision
What to validate on your part
A useful sample image is the starting point. These are the checks that turn the concept into a defensible inspection.
- 01
Separate defect classes
Include surface dust, coating marks, internal inclusions and acceptable edge features.
- 02
Trial both light paths
Keep known sample labels while comparing reflected and transmitted contrast on your own parts.
- 03
Check focus and handling
Verify how part height and cleaning change apparent marks before defining a reject rule.
Explore your inspection requirementsNo limit from motion
How many pixels cover your feature?
Compare feature coverage, camera pixel requirements and exposure using your own planning inputs. These are calculated planning values, not inspection results or an accuracy specification.
Editable planning scenario. Adjust these example inputs for your application; they are separate from the source test and 3D setup. Motion allowance and target coverage are starting points to validate, not acceptance limits. Pixel count starts from the proposed camera's catalog resolution.
Enter finite numbers in every field. Field width, feature width, target coverage, exposure and allowed motion must be greater than zero; horizontal pixel count must be a positive whole number; material speed may be zero. Use values within the supported numeric range if a calculation cannot be represented.
Object sampling mm/px
Pixels across feature px
Horizontal pixels for target px
Motion during exposure px
Exposure ceiling from motion µs
Formulas and assumptions
The field, feature, speed and exposure start with neutral example values. They are not taken from the source test or the 3D illustration. Allowed motion starts at an editable 0.5-pixel example; it is not a recommended acceptance limit. Target coverage starts at an editable 5-pixel example; it is not a recommended detection or measurement threshold. The horizontal pixel count starts from the catalog Resolution row for MV-CS050-10GM(NPOE). Use the effective width after cropping, binning or decimation if those modes are enabled.
- Object sampling (mm/px) = field width (mm) / horizontal pixels.
- Pixels across feature = feature width (mm) / object sampling (mm/px).
- Horizontal pixels for target = field width (mm) × target pixels across feature / feature width (mm), rounded up to a whole pixel.
- Motion (px) = speed (mm/s) × exposure (µs) / 1,000,000 / object sampling (mm/px).
- Exposure for allowed motion (µs) = allowed motion (px) × object sampling (mm/px) / speed (mm/s) × 1,000,000.
The exposure result is the maximum duration from this motion allowance alone. At zero speed, motion sets no exposure limit; the camera, lighting, saturation and other constraints still apply. A shorter exposure does not itself guarantee a reliable inspection.
Field width and feature width refer to the same object plane. The motion calculation assumes uniform linear motion parallel to the field-width direction and a single exposure. It does not model perspective, vibration, rolling-shutter distortion, diffraction, defocus or optical distortion. A strobe may change the effective exposure.
The target result is a horizontal sampling requirement, not a camera recommendation or a change to the selected camera. It uses the effective image width after cropping, binning or decimation and does not determine the vertical resolution or sensor size. Pixel coverage alone does not establish detectability or measurement accuracy. Validate contrast, lens performance, working distance, illumination, calibration, camera exposure limits and the inspection algorithm on representative parts. Changing field width does not change the 3D model or certify that the proposed lens can achieve that field.
The set-up and the parts
| Lighting | Blue coaxial reflected light |
|---|---|
| Primary source light | LS-COPS40, blue |
| Separate source alternative | LS-2FS100100, blue |
| Camera and lens | Source versions not identified; current proposed parts below |
| 3D spacing | Illustrative, to be confirmed on the sample |
| Derived proposed field | 33.7824 × 28.2624 mm = sensor dimensions / 0.25x; source field not supplied |
| Mounting (proposed) | LS-BT-XZ-G-6-6045; 600 mm column, 600 × 450 mm base, glass tray and two light holders |
LightTestedLS-COPS40
Blue LS-COPS40 is the exact light named in the reflected-lens example. A separate blue LS-2FS100100 backlight trial is recorded as an alternative, not added to this proposed kit.
$109.00In proposed setup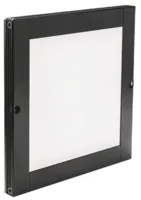
Alternative backlightTestedLS-2FS100100
Blue backlight named in the separate source optical-lens example; not the same sample as the coaxial image. Printed housing 132 × 132 × 10.5 mm.
$109.00Separate test / alternativeCameraOur pickMV-CS050-10GM(NPOE)
5 MP monochrome global-shutter camera for a bench contrast trial; confirm sampling, sensitivity and exposure on the actual part.
$819.00In proposed setupLensOur pickLS-KF3528M-ML
Proposed 35 mm C-mount macro lens. The illustration uses its printed 0.25x magnification at 150 mm working distance. The proposed camera sensor gives a derived 33.7824 × 28.2624 mm field. Confirm field, focus and residual distortion on the actual sample; this is not calibrated measurement accuracy.
$339.00In proposed setupCamera test stationOur pickLS-BT-XZ-G-6-6045
600 mm column, 600 × 450 mm breadboard, XZ adjustment, glass tray and two lighting holders as listed. Proposed bench fixture; confirm loads, travel and camera/lens clamps.
$359.00In proposed setup"Tested" identifies the part named in the source. "Our pick" is a proposed alternative or supporting part. The quote includes only cards marked "In proposed setup", with the quantities shown; other test arrangements are separate. Confirm colour, optics, controllers, power supplies, cables and mounting before ordering.
About this case study: the photos and camera images come from the application laboratory of the maker of the lighting and optics we sell, imaged on the parts shown; your results depend on your part, camera and set-up. This is an application-lab study, not a LumaSpec customer deployment. Source figures are reported results; proposed components require a fresh trial. The 3D scene illustrates the arrangement and does not simulate imaging performance.
More case studies
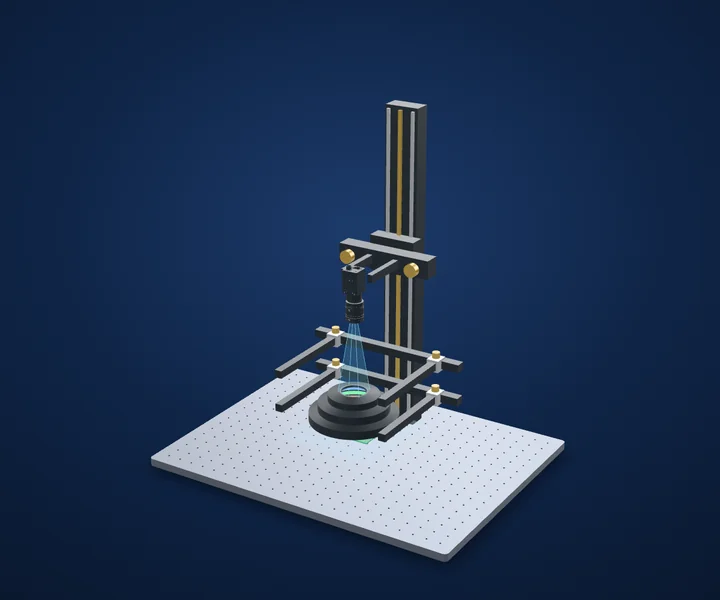
Lithium battery manufacturing · Surface defect detection
Battery welds and tabs
Control what shiny metal reflects.
- LightFlat dome, 100 × 100 mm emitting
- Size140 × 140 × 11.5 mm
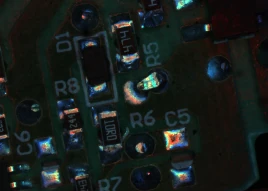
Electronics (SMT / AOI) · Solder joint inspection
PCB solder joints with an RGB AOI light
Use lighting angle to make solder shape visible.
- LightAOI, 160 mm outside, 45 mm aperture
- Height55 mm
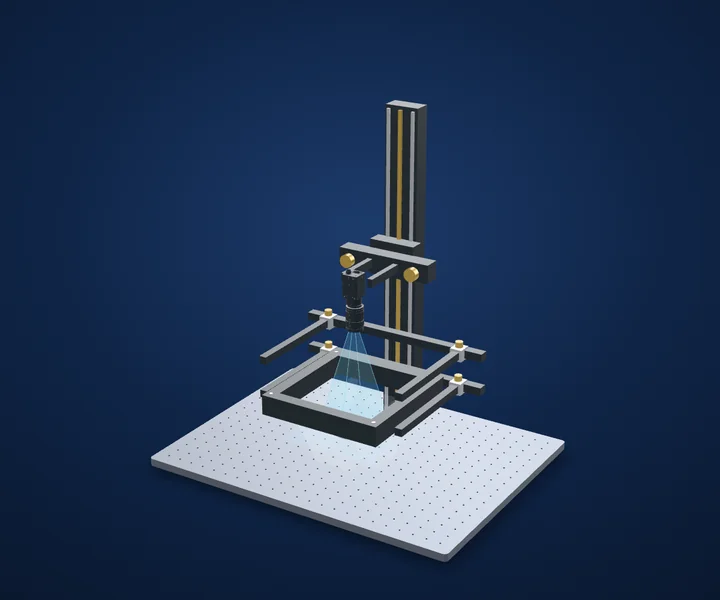
Precision machining · Surface defect detection
Scratches on machined metal
Choose lighting direction before adding resolution.
- Test lightFour-sided adjustable bar light
- Housing (spec)230 × 230 × 37 mm
Start with your inspection requirement
Make the next trial specific.
Tell us the part size, smallest defect or tolerance, available working distance, material and line speed. Include what a good part and a reject look like.
Discuss your applicationConfigure a system