


產品



| Compare | |||||||
|---|---|---|---|---|---|---|---|
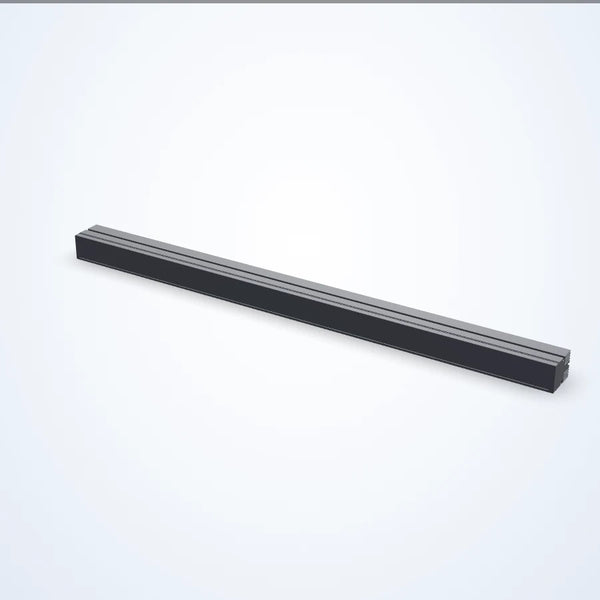
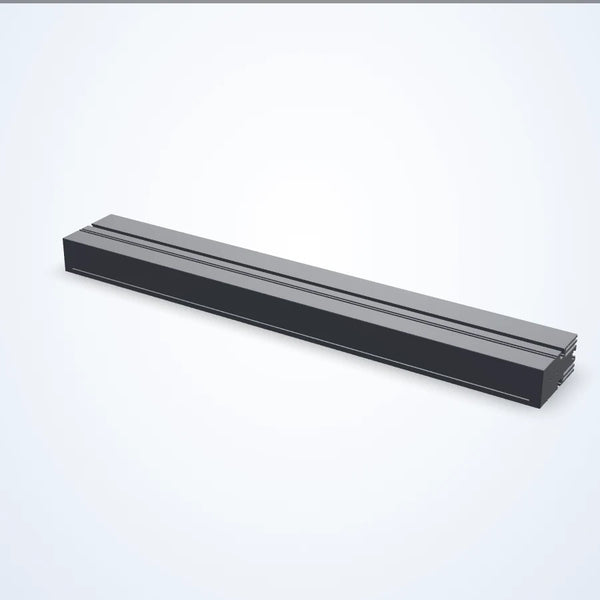
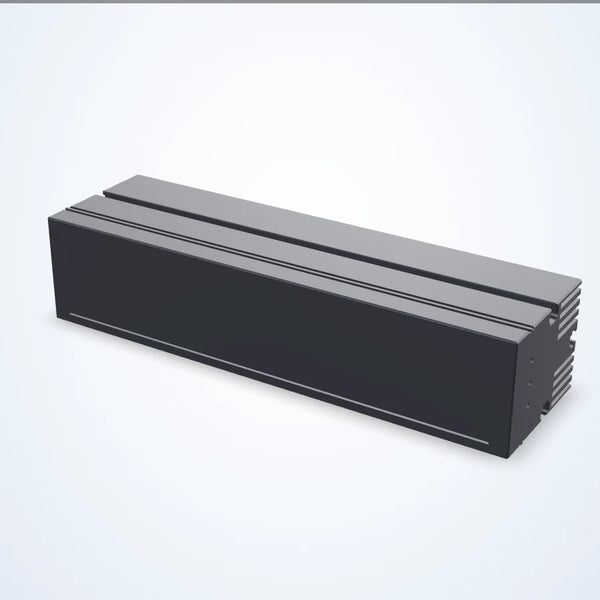
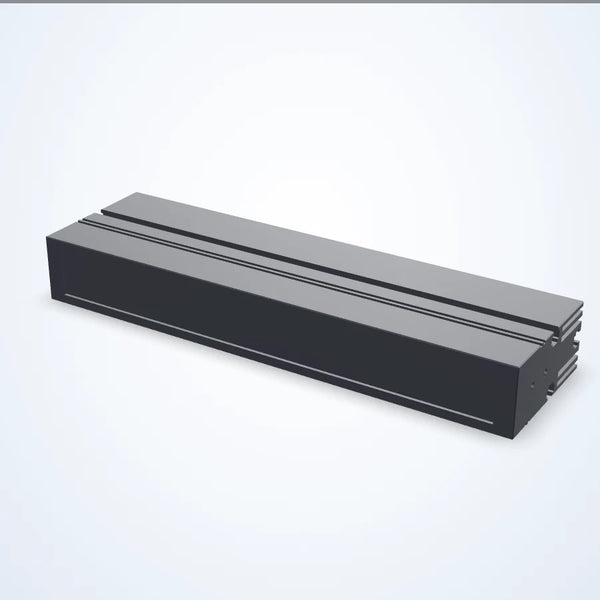
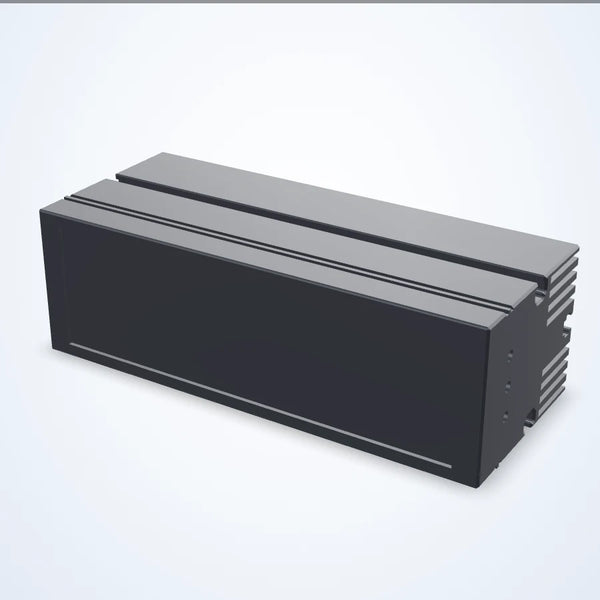
 LS-BAR-0909750 x 30 mm 高功率 LED 條形燈 | 紅色, 綠色, 藍色, 白色 | 750x30 mm | 762x36x46 mm | 24 V | $989.00 | 2-3 週內出貨 | |
 LS-BAR-0908750 x 16 mm 高功率 LED 條形燈 | 紅色, 綠色, 藍色, 白色 | 750x16 mm | 762x22x46 mm | 24 V | $989.00 | 2-3 週內出貨 | |
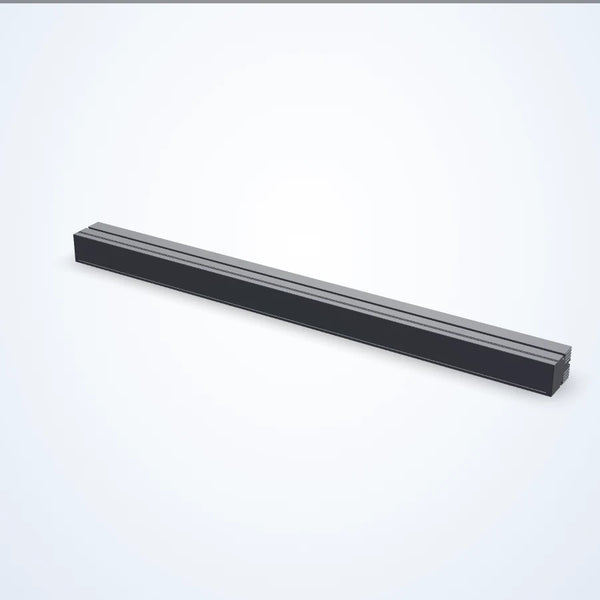
 LS-BAR-0907600 x 30 mm 高功率 LED 條形燈 | 紅色, 綠色, 藍色, 白色 | 600x30 mm | 612x36x46 mm | 24 V | $819.00 | 2-3 週內出貨 | |
 LS-BAR-0906600 x 16 mm 高功率 LED 條形燈 | 紅色, 綠色, 藍色, 白色 | 600x16 mm | 612x22x46 mm | 24 V | $819.00 | 2-3 週內出貨 | |
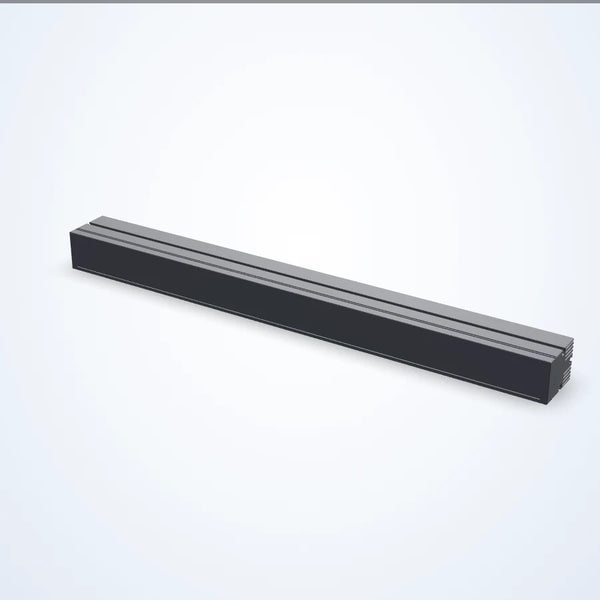
 LS-BAR-0905450 x 30 mm 高功率 LED 條形燈 | 紅色, 綠色, 藍色, 白色 | 450x30 mm | 462x36x46 mm | 24 V | $649.00 | 2-3 週內出貨 | |
 LS-BAR-0904450 x 16 mm 高功率 LED 條形燈 | 紅色, 綠色, 藍色, 白色 | 450x16 mm | 462x22x46 mm | 24 V | $649.00 | 2-3 週內出貨 | |
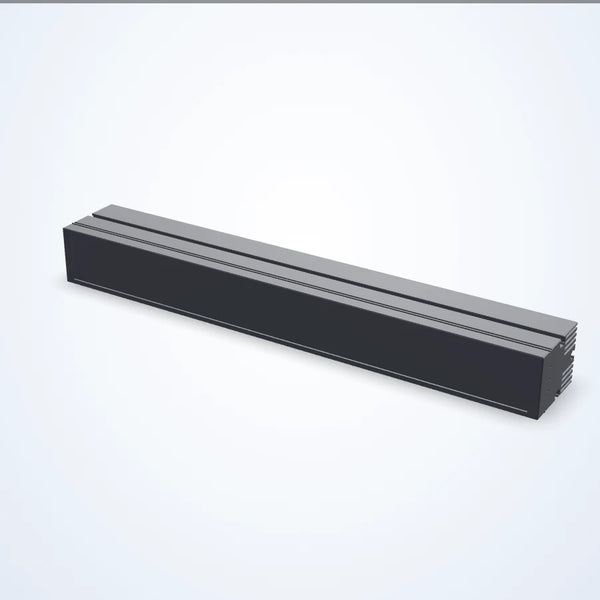
 LS-BAR-0903300 x 30 mm 高功率 LED 條形燈 | 紅色, 綠色, 藍色, 白色 | 300x30 mm | 312x36x46 mm | 24 V | $479.00 | 2-3 週內出貨 | |
 LS-BAR-0902300 x 16 mm 高功率 LED 條形燈 | 紅色, 綠色, 藍色, 白色 | 300x16 mm | 312x22x46 mm | 24 V | $479.00 | 2-3 週內出貨 | |
 LS-BAR-0901150 x 30 mm 高功率 LED 條形燈 | 紅色, 綠色, 藍色, 白色 | 150x30 mm | 162x36x46 mm | 24 V | $289.00 | 2-3 週內出貨 | |
 LS-BAR-0900150 x 16 mm 高功率 LED 條形燈 | 紅色, 綠色, 藍色, 白色 | 150x16 mm | 162x22x46 mm | 24 V | $289.00 | 2-3 週內出貨 | |
 LS-BAR-0899100 x 30 mm 高功率 LED 條形燈 | 紅色, 綠色, 藍色, 白色 | 100x30 mm | 112x36x46 mm | 24 V | $229.00 | 2-3 週內出貨 |
How to choose a machine vision bar light
A bar light is a straight row of LEDs in a narrow housing. It is the most flexible light in a vision cell: one bar at a steep angle acts as a bright directional front light, one at a shallow angle grazes the surface to raise texture, two or four bars around the part make a square ring of any size, and a long bar lights a whole conveyor width. Choose by geometry first, then optics, colour and drive.
1. Length
The lit length should exceed the field of view along the bar by a margin of about 10-20 % at each end, because output falls off near the end caps. For several bars around a part, size each bar to the side of the field it lights. Long bars over a conveyor must cover the full belt width the camera sees, including part position tolerance.
2. Angle and distance: bright field or dark field
Mount angle decides what the camera sees:
- Steep (bright field): the bar sits near the camera axis. Flat, matte surfaces look evenly bright; good for print, labels and colour checks.
- Low angle (dark field): the bar sits low and to the side, 10-30° above the surface. Flat areas stay dark and scratches, embossing, dents and edges light up. Used for engraved codes, raised text and surface defects.
Working distance matters too: output per area drops with distance, and a bar placed far away lights a wider strip less evenly. Where a working range is stated it is typically 30-500 mm.
3. Beam angle: lensed or diffused
Many bars take a lens over the LEDs. A narrow beam (10-20°) puts more light on a strip far from the bar; a wide beam (36-55°) lights a broader area close to the bar. Some bars combine two beams (45° plus 15°). A diffused bar without lenses has a softer, more even output that reduces hot spots on semi-gloss parts. Pick the beam from the distance and the width of strip you need to light.
4. Colour
- Red (625 or 660 nm): the default for mono cameras; easy to separate from room light with a filter.
- Blue (455-470 nm): more contrast on metal and for fine scratches; sharper at high magnification.
- Green, cyan, amber: pick the colour that darkens the feature: light of the opposite colour makes a coloured mark look dark on a mono camera.
- Infrared (850 or 940 nm): suppresses printed colour and passes through some plastics; invisible to operators.
- UV (365-405 nm): makes fluorescent inks, glues and coatings glow.
- White: for colour cameras.
5. Drive, housing and wiring
Bars without a driver need a light controller. Bars with an internal or in-line driver run on 24 V DC, dim with an analog voltage and, with a PNP or NPN trigger input, can be pulsed above their continuous rating to freeze moving parts. Some bars can be daisy-chained so several share one cable run. For wet or wash-down areas choose IP65 to IP69K and, where offered, a stainless steel housing; IP50 is for dry cabinets. A few models are rated risk group 2 under IEC 62471: check the rating and shield operators from the direct beam.
What the range covers
| Parameter | Range in this category |
|---|---|
| Lit length | From about 35 mm to about 2.5 m |
| Lit width | About 10-57 mm |
| Beam angles (lensed bars) | 10, 14, 20, 25, 32, 36, 40, 55°, and 45° + 15°; diffused versions without lens |
| Colours | White, blue 455/470 nm, cyan 505 nm, green 520/530 nm, amber 590 nm, red 625/660 nm, IR 850/940 nm, UV 365-405 nm |
| Supply | 24 V DC on almost every model |
| Protection | IP50 to IP69K; aluminium or stainless steel housings |
Browse by colour: white, red, blue, green, infrared and UV bar lights.
Typical applications
- Engraved, stamped or laser-etched codes and characters, lit at a low angle.
- Scratches, dents and flatness defects on machined or painted surfaces.
- Label presence, position and print on boxes and bottles passing on a conveyor.
- Two or four bars as a large, adjustable ring light for parts too big for a ring light.
- Fluorescent glue bead and coating checks with UV bars.
Common mistakes
- Choosing a bar only as long as the part. The ends of the bar are dimmer, so the edges of the field come out darker.
- Mounting the bar where its mirror reflection lands in the lens on shiny parts. Move it so the specular reflection misses the camera, or use a polarized bar with a polarizer on the lens.
- Using a narrow beam at short distance: the light lands as a thin stripe instead of an even area.
- Expecting one bar to light a curved or crinkled shiny part evenly. That needs a dome light.
- Wiring a bar without a built-in driver to a plain power supply when its data sheet calls for a controller. Check the drive type on the product page before wiring.
Questions
Bar light or line scan light?
Bar lights light an area for area-scan cameras and are general purpose.
Line scan lights focus a high-intensity line onto the narrow strip a line
scan camera reads at high line rates.
How many bars do I need?
One for directional or low-angle light from one side. Two opposite bars balance
shadows. Four bars around the part behave like a square ring light with adjustable angle.
Can I strobe a bar light?
Yes: bars with a trigger input strobe from the camera or sensor signal; others
strobe through a strobing controller. Check the strobe frequency and shortest pulse against the line speed.
Where do I start?
Pick the light type in the lighting guide, then
configure the system so camera, lens, light and controller fit together.